Good afternoon all my friends out there in blog land! Today, so far has been a really great day. I got to sleep in again, after staying up until almost 2am in the craft room I needed it! I was off yesterday and today so I was able to get some much needed stress relief/ crafty time in yesterday afternoon. From about 4:30 until about 8:30, then I took a break to cook dinner, then from about 11:30 until almost 2am! But it was much needed... I swear I could have stayed up all night scrapping! I really had the mojo going yesterday...listening to my fav music station on Comcast, scentsy pot smelling up the room, a big glass of iced sweet mint tea, I was ROCKIN! I am very proud though, I completed 2 total layouts for 2 different challenges, so I will be sharing those with you today. SO STAY TUNED FOR A REALLY LONG BLOG POST!!!! The first one is for the
Basic Grey sketch challenge. Have I told y'all how much I LOVE LOVE LOVE Basic Grey?! By far my most favorite paper line...all of them are so versatile and easy to combine too for lots of different occasions. The winner of the sketch challenge gets to select a collection pack of their choice!!! OMG I would just die if I won. Here's hoping! This was the original sketch:

I actually stayed pretty true to the sketch on this one, the only thing I really did differently was put my journaling on top of the block below the butterfly. I really like how the colors I used aren't really the typical 'girly' colors but it's still a really girly layout! The photos are from last Thanksgiving, of me holding
my niece, Zoe! This is what I came up with:
And another shot:
this time standing up, trying not to get too much flash in there!
And of course, some closies of all the good stuff! This layout is loaded with it!!
This butterfly I had in my stash, I didn't really like it cause it was kinda plain, so I glued it on top of a scrap of lace acetate paper to fill in the wings, then I inked the edges with Tim Holtz distress ink in antique linen. Of course the body of the butterfly I just drew on with Aqua stickles once I folded it and glued it to the paper.
For the title, I used some pink paislee woodshop letters which I covered in 2 different kinds of glitter. The 'girl' part of the title is stickers that I outlined in brown pen from the Basic Grey 'Origins' collection sticker elements sheet.
another closeup of the lovely flowers! For most of them, I used some plain white and black flowers from my stash that I inked and sprayed up to make them kind of monochromatic. I used Glimmermist by Tattered Angels in Lilypad as well as some Smooch Spritz in gold glow, then on top of that I inked the edges with TH antique linen again. While the glimmermist was still wet, I actually drugg them through the remainder of glitter used on my title and it stuck to them!
I love this shabby-chic teal rose from Bo Bunny.
And here are a few shots of the creative process as it was in the works:
Supplies List:
background paper- Basic Grey 'Origins' collection "sea salt"
paper strips- Basic Grey 'Origins' collection "paraffin"
teal strip and block- Basic Grey 'Lime Rickey' collection
girl subtitle letters/tiny flowers- Basic Grey 'Origins' collection sticker elements
title letters- Pink Paislee woodshop expressions- "sawdust"
glitter on title- Martha Stewart holiday glitter in 'olivine' and 'tinsel'
paper flowers- Prima No. 9 Essentials collection
white/black dot paper flowers- from stash
Glimmermist by Tattered Angels in 'lilypad'
Smooch Spritz in 'gold glow'
shabby teal rose- Bo Bunny 'ad lib petals'
Tim Holtz distress ink in 'antique linen'er
flower centers- Craftwork Cards 'Candi' in choc-o-mocha
teal crystal flourish- Prima 'say it in crystals'
Large spotty green button- Purple Pumpkin Crafts
3 layer flower- K&Company 'classic margo'
Stickles in aqua, lt. green, and TH distress stickles 'peeled paint'
chipboard flower, butterfly, pearl brads, and flower button-from stash
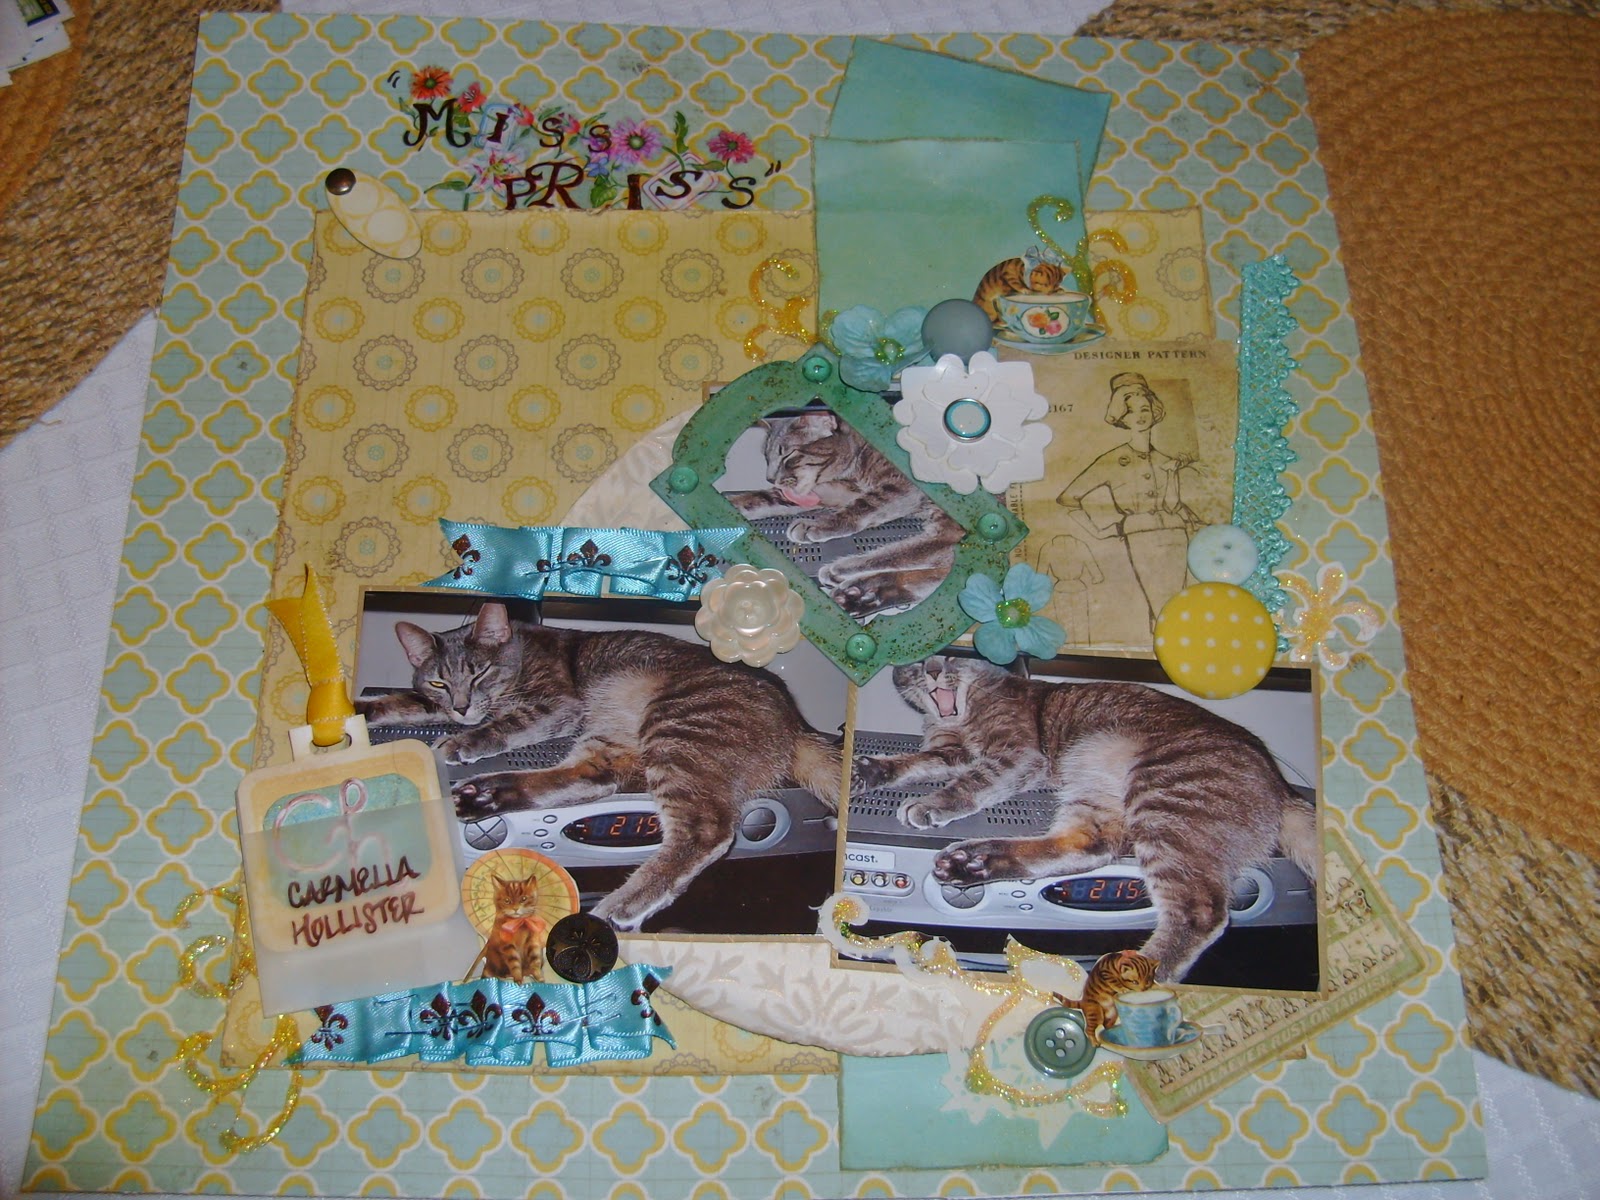
Okay, are yall ready for no. 2??? I know this is probably my longest post ever! For the second, I had a pretty good idea of what I wanted to do because while I was looking for the perfect Basic Grey paper to do layout #1 I stumbled upon this Lilybee paper that I totally forgot that I had. Don't you just LOVE when that happens? So I knew I wanted to use those 2 papers together and I also figured it was time to scrap some photos of our beloved kitty, Carmella, since she's such a presence in our lives but it seems she never really gets to be in the limelight! So I knew I had these 3 photos of her laying in her favorite afternoon nap spot, directly on top of our cable box, I guess because it's warm!? This LO I will be submitting for the
January Sketch Challenge over at Artful Delight. I have really come to love this site, they put together the best scrapbook kits and once I get my BDAY $$$ (January 25th in case you wanted to know) I will def. be purchasing some stuff from Leanne. I won a Nov. kit a few months ago in a sketch challenge and everything in it is GORGEOUS!!! This is the original sketch designed by Abby.

And this is my take:
And a few close ups, lots of yummy goodness on here, I mixed and matched different stuff, cause well, that's just what I like to do. If an embellishment doesn't go I just alter it up! For example, this cute little tag inside it's own envelope actually is a baby-themed tag that I covered with a little rounded square of teal paper and some sticker letters, then I wrote on the vellum envelope.
One of my favorite things to do is staple ribbon. I totally forgot about this technique until I found this cool teal and brown fleur de lis ribbon and I knew I had to add it to my page!
The flowers are a mix of vinyl flowers, Prima of course, and some cute vintage kitty stickers that I put on cardstock and popped up with pop dots.
The title- I LOVE these letters, I wish I could remember where I got them from, don't have the packaging anymore and they are almost gone! :(
I like the contrast of the yellow spotty button and the teal lace in this shot.
Overall, I am really happy with both of these layouts and will be happy to submit them both...hopefully for a prize or two :) as soon as I'm done with this REALLY LONG blog post. LOL. But it was worth reading till the end wasn't it? Happy Wednesday Y'all! Until next time~ V V.
Supplies List:
background paper- 'memorandum 9 to 5' Lilybee Design
large paper square- 'memorandum timeclock' - Lilybee Design
light teal cardstock- from stash
large cream circle paper- 'the story of us' collection "I'm Yours" by ATD Momenta
shabby sticker letters (title)- from stash- Mary Engelbriet?
Large spotty yellow button- Purple Pumpkin Crafts
layered tag w/ envelope- Colorbok 'Oh Baby'
Tim Holtz distress ink in 'antique linen'
Tim Holtz Idea-ology 'acoutrements'- large flower button, metal button
Tim Holtz Idea-ology salvage stickers- 'crowded attic'
vintage kitty cat stickers- 'gifted stickers' by Punch Studio
teal lace- Prima 'Say it with Crystals'
white vinyl embellishments- American Crafts Townhouse collection 'elegant'
white/turquoise brad- My Mind's Eye turquoise lush collection
chipboard frame, vintage buttons- from stash
Colorbox chalk ink in Seafoam and Deep Lagoon- chipboard frame
Glimmermist by Tattered Angels in Lilypad- chipboard frame
gem drops by The Robin's Nest (4 lt. blue)
stickles- yellow
Tim Holtz distress stickles in 'peeled paint'